Paper Quilling
This tutorial offers both historical context and step-by-step instruction on a paper craft with broad uses today and throughout time: paper quilling
Tutorial developed by Kalea Furmanek-Raposo
Digital design by Kalea Furmanek-Raposo
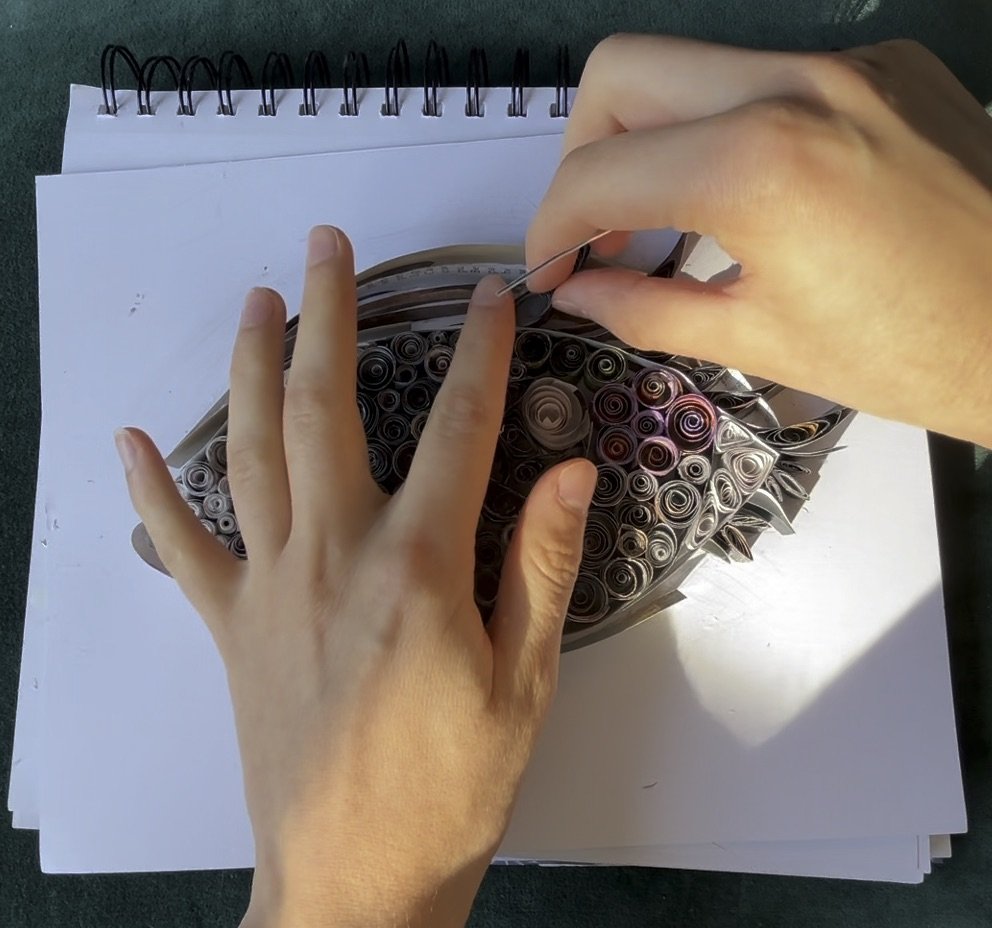
Kalea’s finished paper quilling (2024)
Quilling, also called mosaicon, paper mosaic, rolled paperwork, or paper filigree, is a paper craft that uses long strips of coiled paper to make three-dimensional designs on a surface. Although today we primarily find this paper craft on greeting cards, historically, paper quilling was found on frames, tea caddies, fire screens, tables, small boxes, the bones of saints, and more. This intricate paper work is often used as a substitute for filigree (that is, precious metal work).
While paper quilling may be as old as the history of paper manufacture itself, early evidence of this craft comes from nunneries and monasteries. In the fifteenth century, nuns and monks began to use quilling to decorate religious symbols, portraits, and even reliquaries (which house the relics of saints) (“Quilling or the Art of Rolling Paper”; "Historical Account of the Origin and Progress of Paper Filigreework, with an Accurate Description of the Present Practice of That Ornamental Art."). Such intricate quilling was done with thin strips of plain paper and then covered with a layer of gold leaf or gold paint. Quilling became a fashionable pastime and was even taught at ladies’ boarding schools in the late eighteenth century. In the nineteenth century, steam-driven paper-making machines and the production of wood pulp made paper cheaper and more readily available. Extant examples of nineteenth-century paper quilling use both plain paper and recycled strips of printed paper. Mass print production (facilitated by the high-speed printing press) and mass paper production thus made quilling an accessible and relatively inexpensive craft (Price 240; Landow). Depending on the surface on which the quilling was done, Victorians preserved their paper quilling beneath glass (for quilling on a paper base) or a layer of varnish (for ornamental quilling on furniture) (Bemrose 4).
Representations of paper quilling in literature from the nineteenth century demonstrate how enmeshed hands-on work was in the development of relationships between women. In Jane Austen’s Sense and Sensibility (1811), Lucy Steele and Elinor Dashwood work on a “fillagree basket”: “I am only waiting to know whether you can make your party without me, or I should have been at my fillagree already. I would not disappoint the little angel for all the world: and if you want me at the card-table now, I am resolved to finish the basket after supper” (164).
Paper quilling patterns and kits complete with pre-cut strips of coloured paper were advertised and distributed by magazines and newspapers. This activity fell out of popularity at the end of the nineteenth century. Just as paper quilling gained popularity early in the century because of paper’s relative preciousness, paper quilling lost popularity late in the century because of paper’s increasing cheapness and ubiquity.
Click here for a list of scholarly sources, websites, blogs, pincushion patterns, and historical examples. Click here to read my reflection on paper quilling.
Historical Examples of Paper Quilling
Fire Screen with quilling (1787) from the V&A.
Plate 3 from William Bemrose’s Mosaicon: or Paper Mosaic, and how to make it (1875). This plate shows a variety of flower shapes that can be made using paper quilling.
Relics with quilling (1674) in Église Saint-Charles-Borromée Québec.
You Will Need…
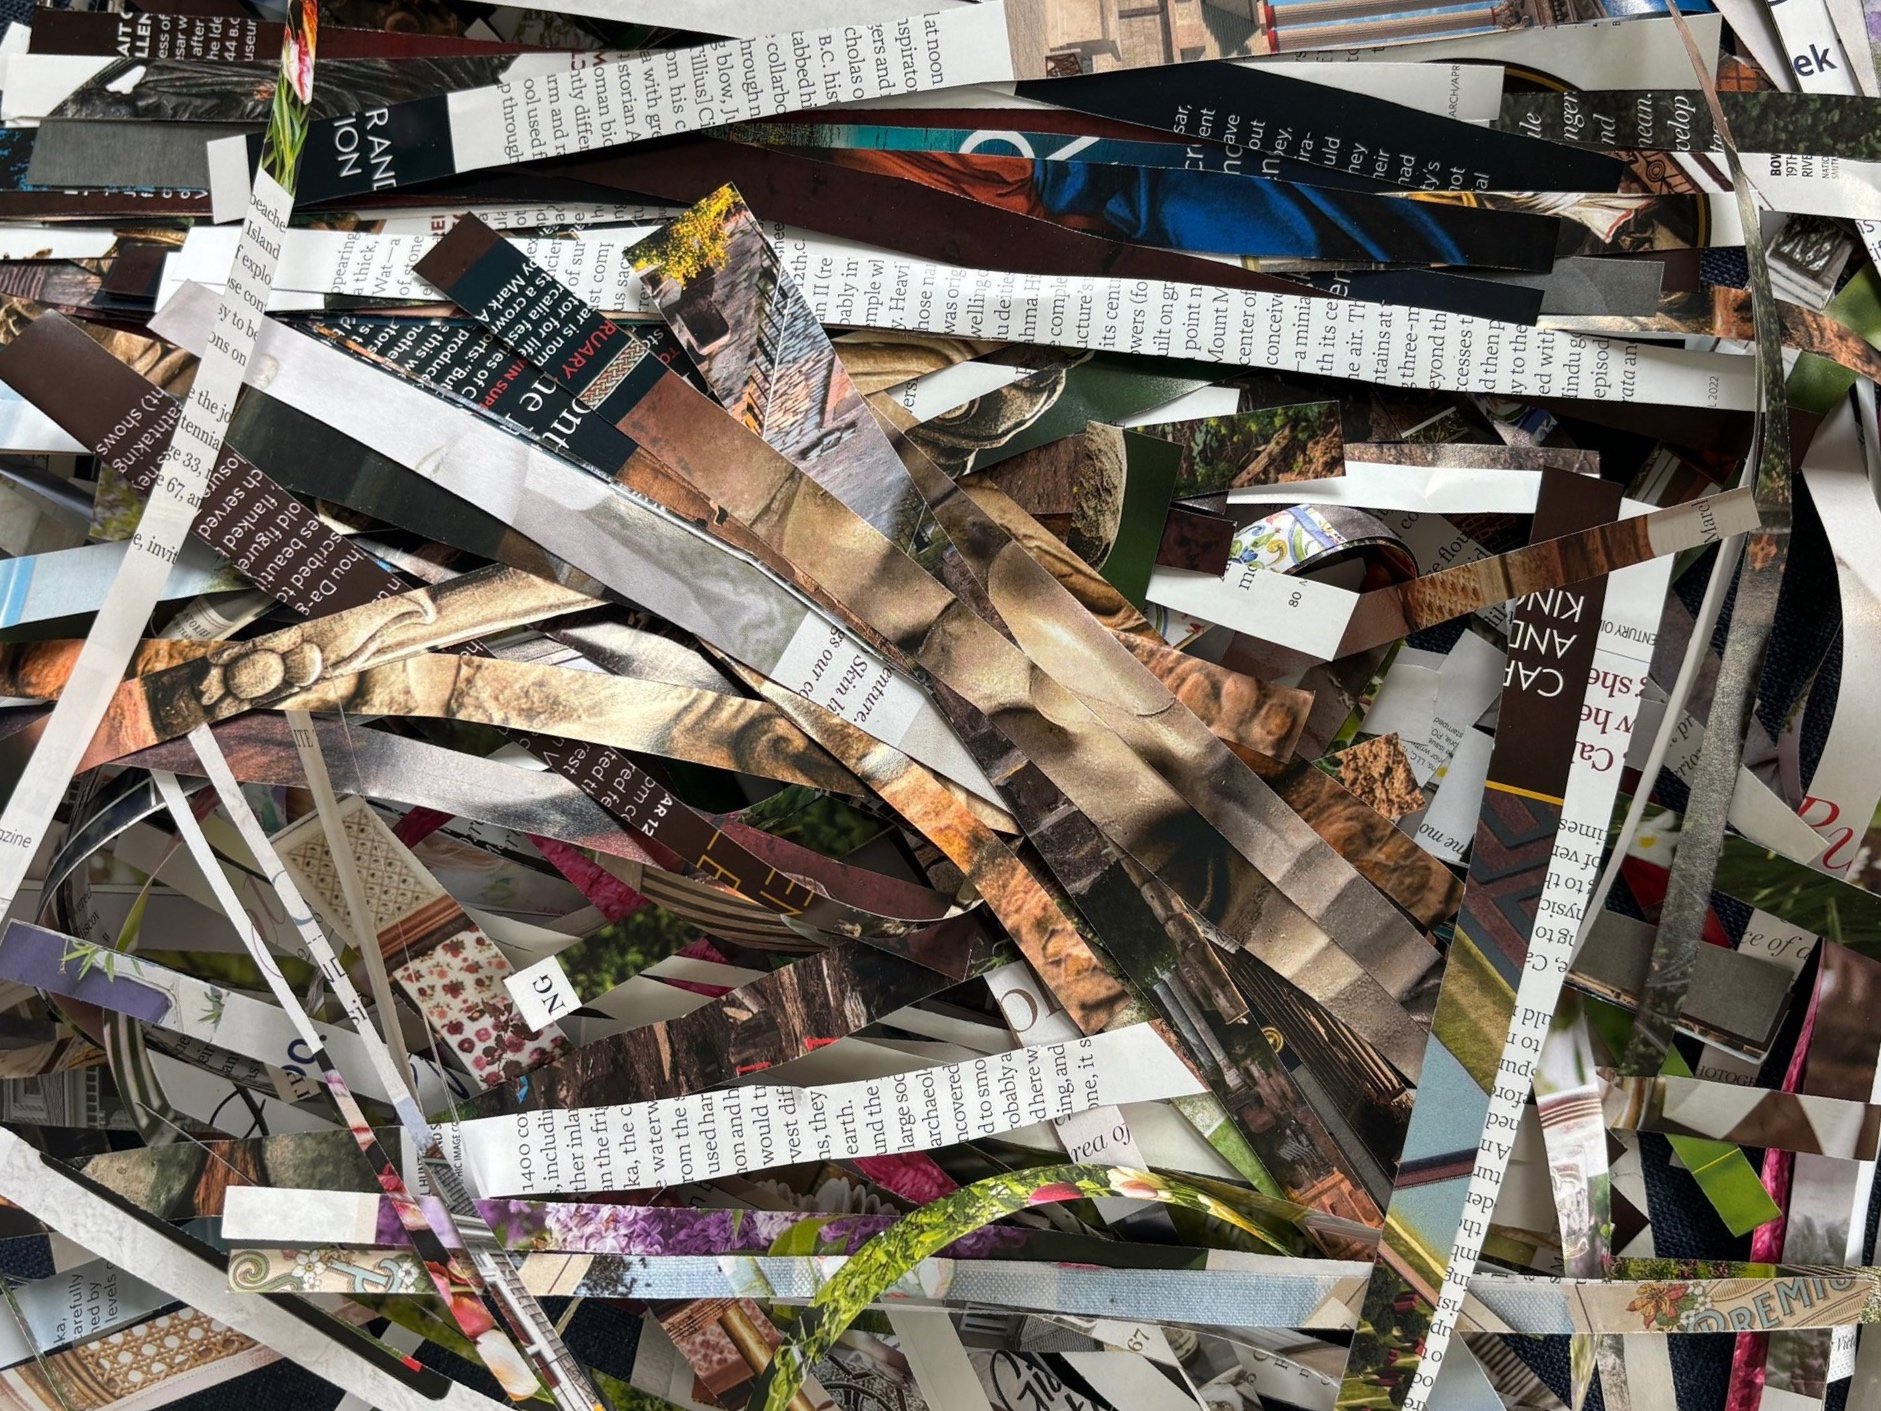
Paper (coloured paper, newspaper, magazine pages)
Cardboard or heavy paper for the base
Scissors, knife, or metal ruler
Quilling needle or any thin, stick-shaped tool (a large unfolded paper clip, a large embroidery needle, or a thin skewer works well)
Liquid glue
A small brush or cotton swab to apply the glue
Pencil (optional)
Step 1: Preparing the Paper
Cut the paper into strips along the long edge so that each strip measures approximately 1-1.5 centimetres in width). Incorporating strips of different widths adds texture to your final project. These strips can be as narrow as 3 mm.
Step 2: Creating the Design
(optional) Use a pencil to sketch your design onto your cardboard or heavy paper base. Create an outline of your design by placing some of your strips of paper on the base. They should be standing upright like short walls. You will fill in these borders with your curled strips later.
If you are making curves, it can be helpful to partially curl these strips with your quilling tool or pencil. To do so, use your thumb to hold the end of your strip to your tool and loosely wrap it around the circumference of the tool until the paper holds this curved shape on its own. You can also cut these strips into small shapes to better fit your design.
Once you are happy with your shapes, glue the outlines to your base. Depending on the consistency of your glue, it may be helpful to allow the glue to air dry for a few minutes so that it is tacky enough for the walls to stick to the base on their own.
Step 3: Rolling the Paper Coils
To quill the paper coils, place a strip of paper at the base of your quilling tool and begin to roll it onto the tool. It may take a few tries to find the right tension for your project. Once you have rolled the whole strip, press your thumb to the loose end of the strip and slide it off your tool.
If you want to tighten this paper coil, roll it tightly between your fingers. If you want a loose circular coil, skip the rolling step and let it unfurl slightly. Once you have a coil with your desired tension, glue the end down so that the paper coil retains its shape.
Step 4: Shaping the Rolled Paper
There are several other shapes that you can make with a circular coil.
Pinching the coil:
Pinch one end of your coil to create a teardrop shape.
Pinch two ends of your coil to create an eye shape.
Pinch three ends of your coil to create a triangle.
Pinch four ends of your coil to create a square, rectangle, or diamond.
Bending the coil:
Bend a circle to create a semicircle.
Bend an eye-shaped coil to create a crescent shape.
Step 4: Shaping the Rolled Paper
Arrange your paper coils and scrolls within the borders you created on your base. Once you are happy with your design, you can start to glue them down by brushing glue onto the base or carefully onto the bottom of the coil (pressing too hard may pull the coil out of shape).
Once you’ve filled in the design as much as you would like, your quilling is complete!
References
Austen, Jane, and Edward Copeland. Sense and Sensibility. New Ed, Cambridge University Press, 2006.
Bemrose, William. “Mosaicon: or Paper Mosaic, and how to make it.” Bemrose and Sons, London, 1875.
Bittel, Carla, et al., editors. Working with Paper: Gendered Practices in the History of Knowledge. University of Pittsburgh Press, 2019.
Landow, George P., “Print Technology and Publishing: A Selective Chronology.” The Victorian Web, 2016.
"Historical Account of the Origin and Progress of Paper Filigreework, with an Accurate Description of the Present Practice of That Ornamental Art." New Lady's Magazine, vol. I, no. 10, Nov. 1786, pp. 529-530.
Price, Leah. How to Do Things with Books in Victorian Britain. Princeton University Press, 2012.
“Quilling or the Art of Rolling Paper.” Le Monastere des Augustines, 12 Aug. 2022.
Williams, T.C. “Paper Gold: The History and Art of Paper Quilling.” Medium, 15 Feb 2022.


