Watchguard
This tutorial offers both historical context and step-by-step instruction on an accessory crafted by women and worn by men: the watchguard.
Tutorial developed by Kalea Furmanek-Raposo
Digital design by Kalea Furmanek-Raposo
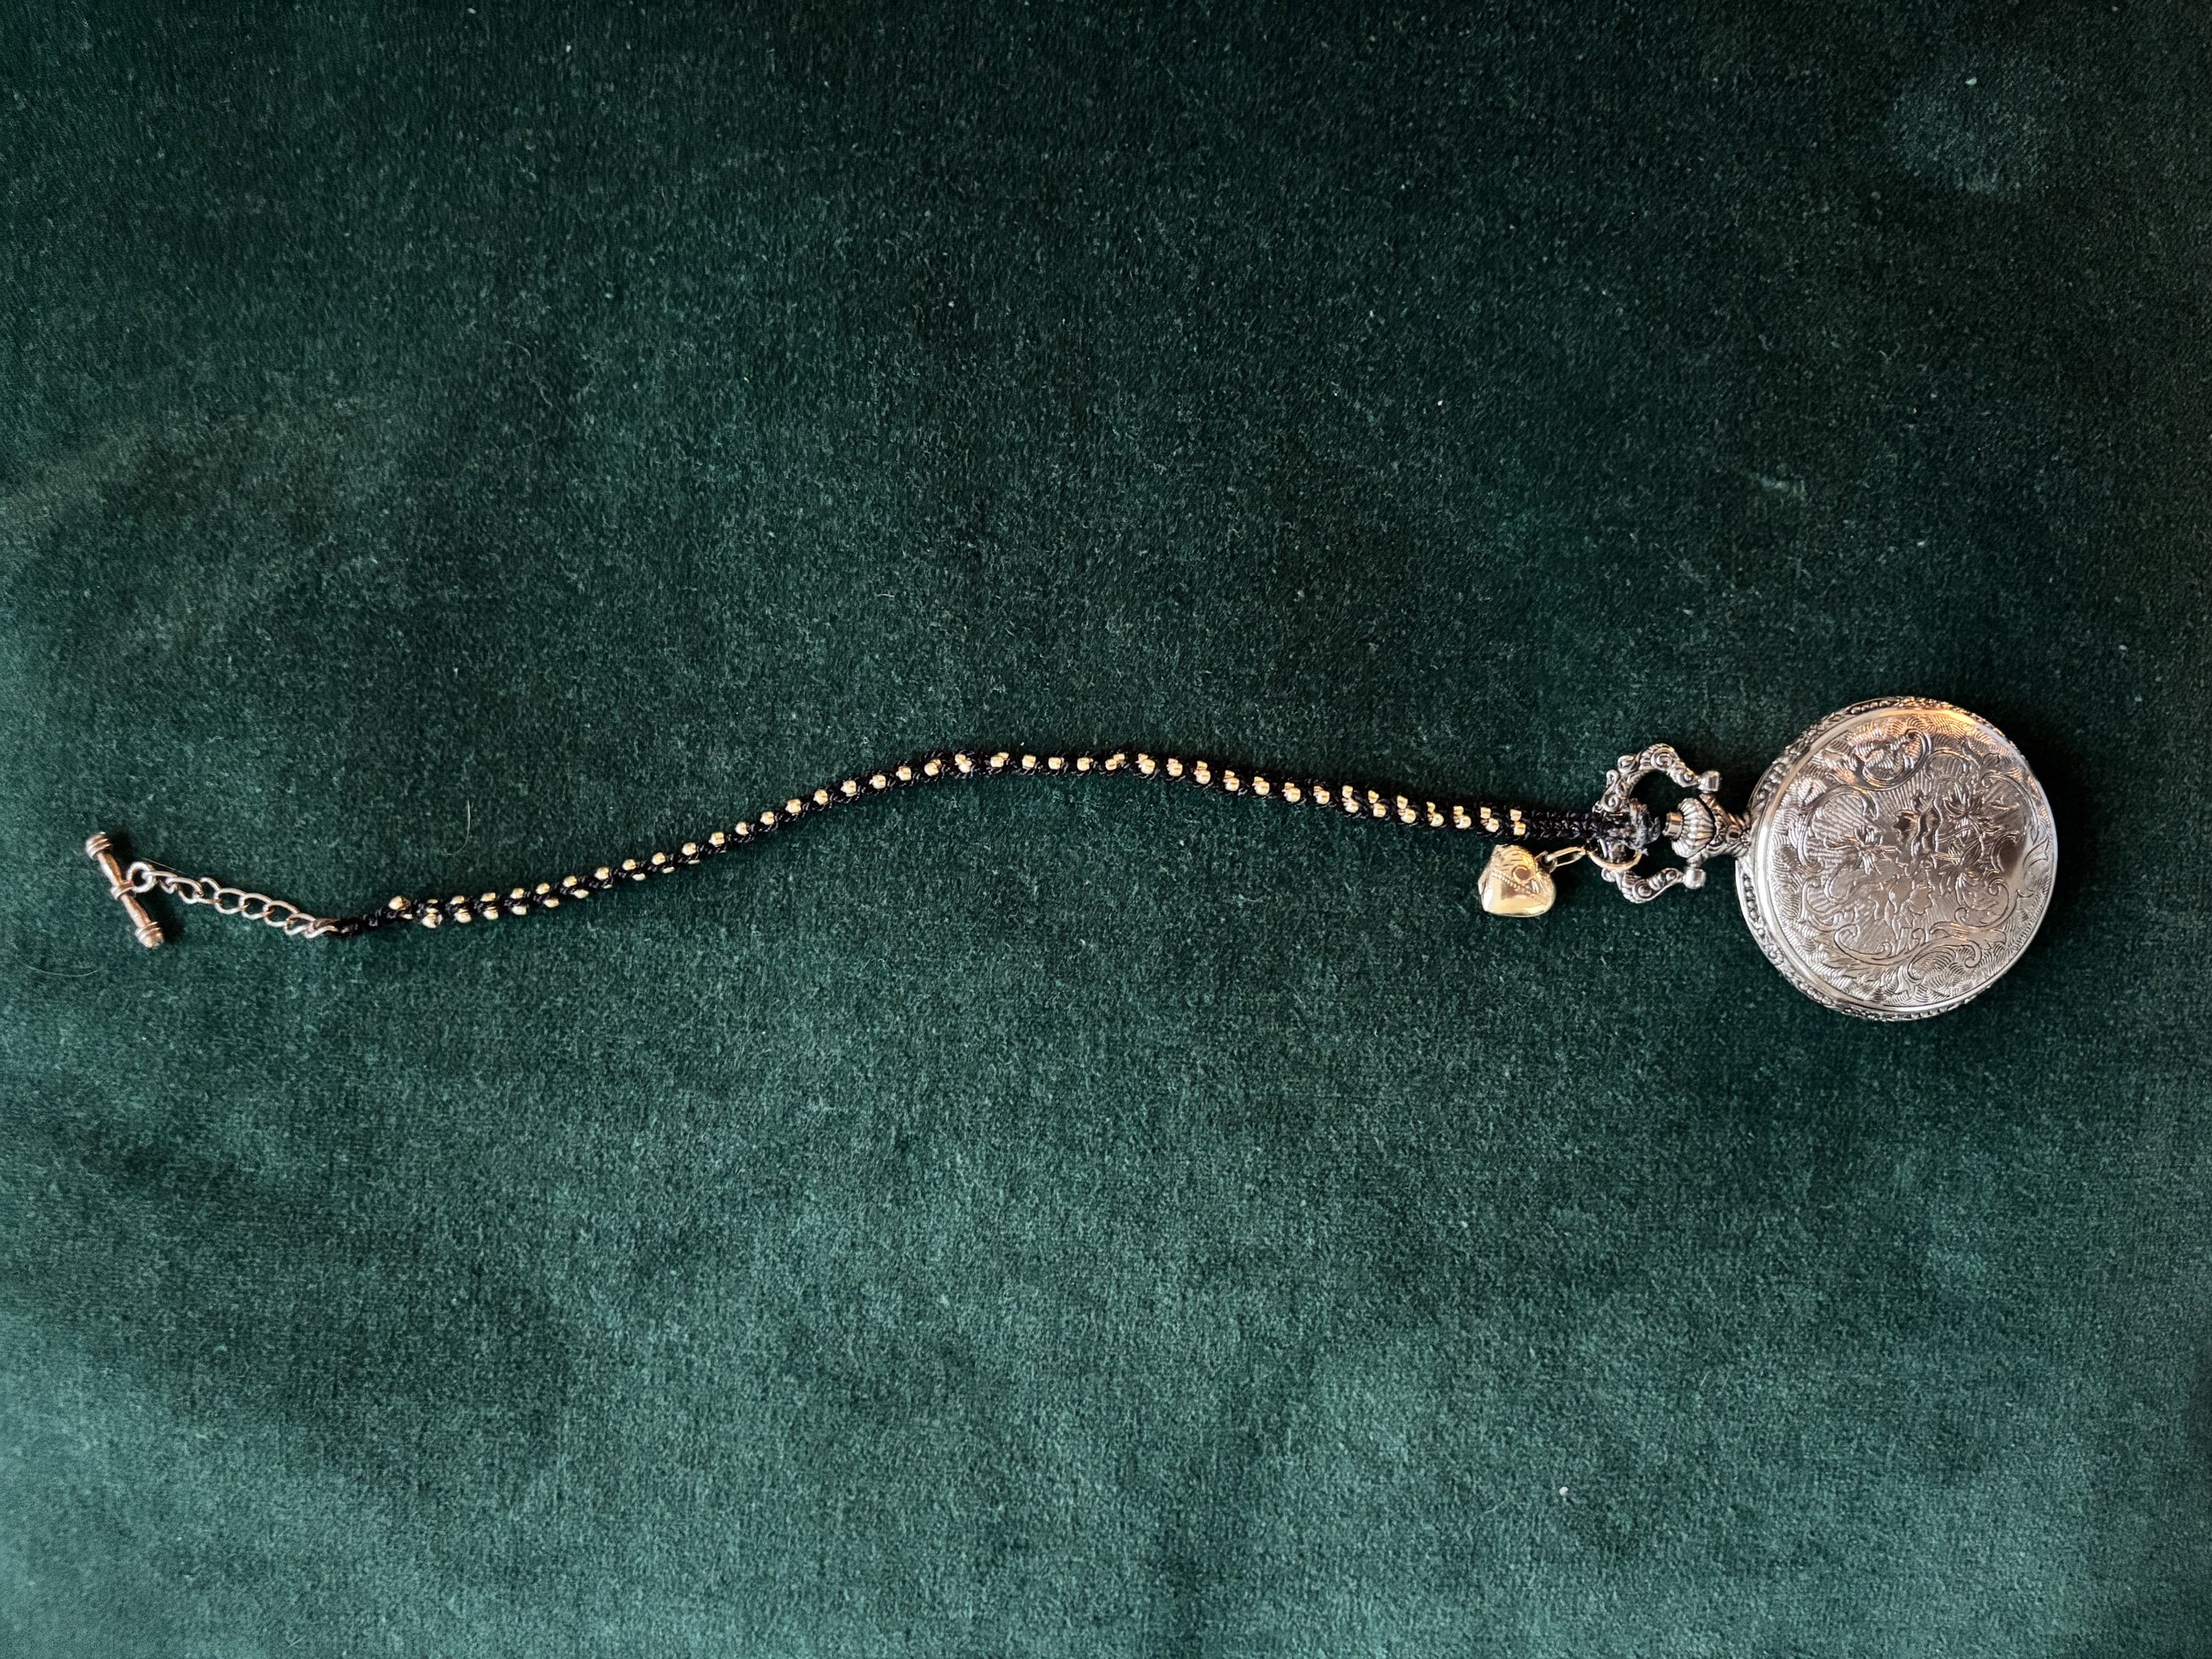
Kalea’s finished watchguard (2024)
As time-keeping devices evolved, so did the means by which people carried them. In the seventeenth century, the incorporation of the balance spring into watches allowed clocks to maintain their internal movement at a regular pace regardless of external disturbances or movement; as a result, watches became small, circular, and portable (Tomalin 108). Throughout the eighteenth century, men often carried these watches in a pocket of their trousers while women primarily wore them strung around their necks as jewelry. However, by the mid-nineteenth century, the shortening of men’s waistcoats allowed for watches to be easily stored in the front pocket of the waistcoat where they were both easily accessed and readily displayed to demonstrate a man’s status (Cummins 163). Thus, changes to men’s fashion as well as the growing availability of watches led to the near-ubiquitous use of watchguards or watch chains to secure the watch to the man’s person (Davies 60; 83-84)
Watchguards were lengths of metal, cord, ribbon, or woven hair that attach a timepiece to one’s clothing. Whatever their material, watchguards usually included a toggle, clasp, or hook to secure them to a waistcoat button which prevents the watch from falling out of the pocket and also decorates the waistcoat. Watchguards that attached to a waistcoat via a toggle through the buttonhole became known as an ‘Albert chain’ as popularized by Prince Albert from the 1840s onward. The length of watchguards was highly customizable, varying from 25 cm and under to over a meter. Watchguards were often embellished with beads as well as utilitarian or sentimental trinkets—mainly lockets, charms, pendants, seals, and watch keys.
Nineteenth-century magazines, books, and newspapers yield a wide array of instructions for knitted, crocheted, and woven watchguards made from silk or hair and constructed using small wooden frames, makeshift looms, or braiding tables. Most of these instructions appear in publications aimed at women. The instructions in this tutorial, for example, are derived from an article on watchguard-weaving in the The Lady’s Newspaper & Pictorial Times (18 Oct. 1856).
Mid-nineteenth century fiction represents women engaging in watchguard making. In Charles Dickens’s serialized Sketches by Boz (1833-36), Miss Lillerton crafts a woven watchguard: “Miss Lillerton, drawing a small work-table on one side of the fire, and placing a little wooden frame upon it, something like a miniature clay-mill without the horse, was soon busily engaged in making a watch-guard with brown silk” (282).
Victorian print culture appears to identify the crafting of watchguards as women’s handiwork
Click here for a list of scholarly sources, websites, blogs, pincushion patterns, and historical examples. Click here to read my reflection on watchguard weaving.
Historical Examples of Watchguards
Watchguards woven from hair from Mark Campbell’s book Self-Instructor in the Art of Hair Work (1867).
Man holding a watch possibly by Maso da San Friano (1558-1560) Distributed under a CC-BY 4.0 license.
Prince Albert with watch chain (1861) photographed by Vernon Heath.
A watch chain made from human hair (19th century) from the Norwegian Slottsfjellmuseet museum. Distributed under a CC-BY 4.0 license.
You Will Need…
Silk bead cord as a substitute, you can use linen bead cord, nylon bead cord, thin ribbon (3 mm in width), embroidery floss, or hair (if you are feeling Victorian).
Decorative add-ons like beads and/or charms (optional)
A metre of ribbon
A sturdy push pin
Scissors
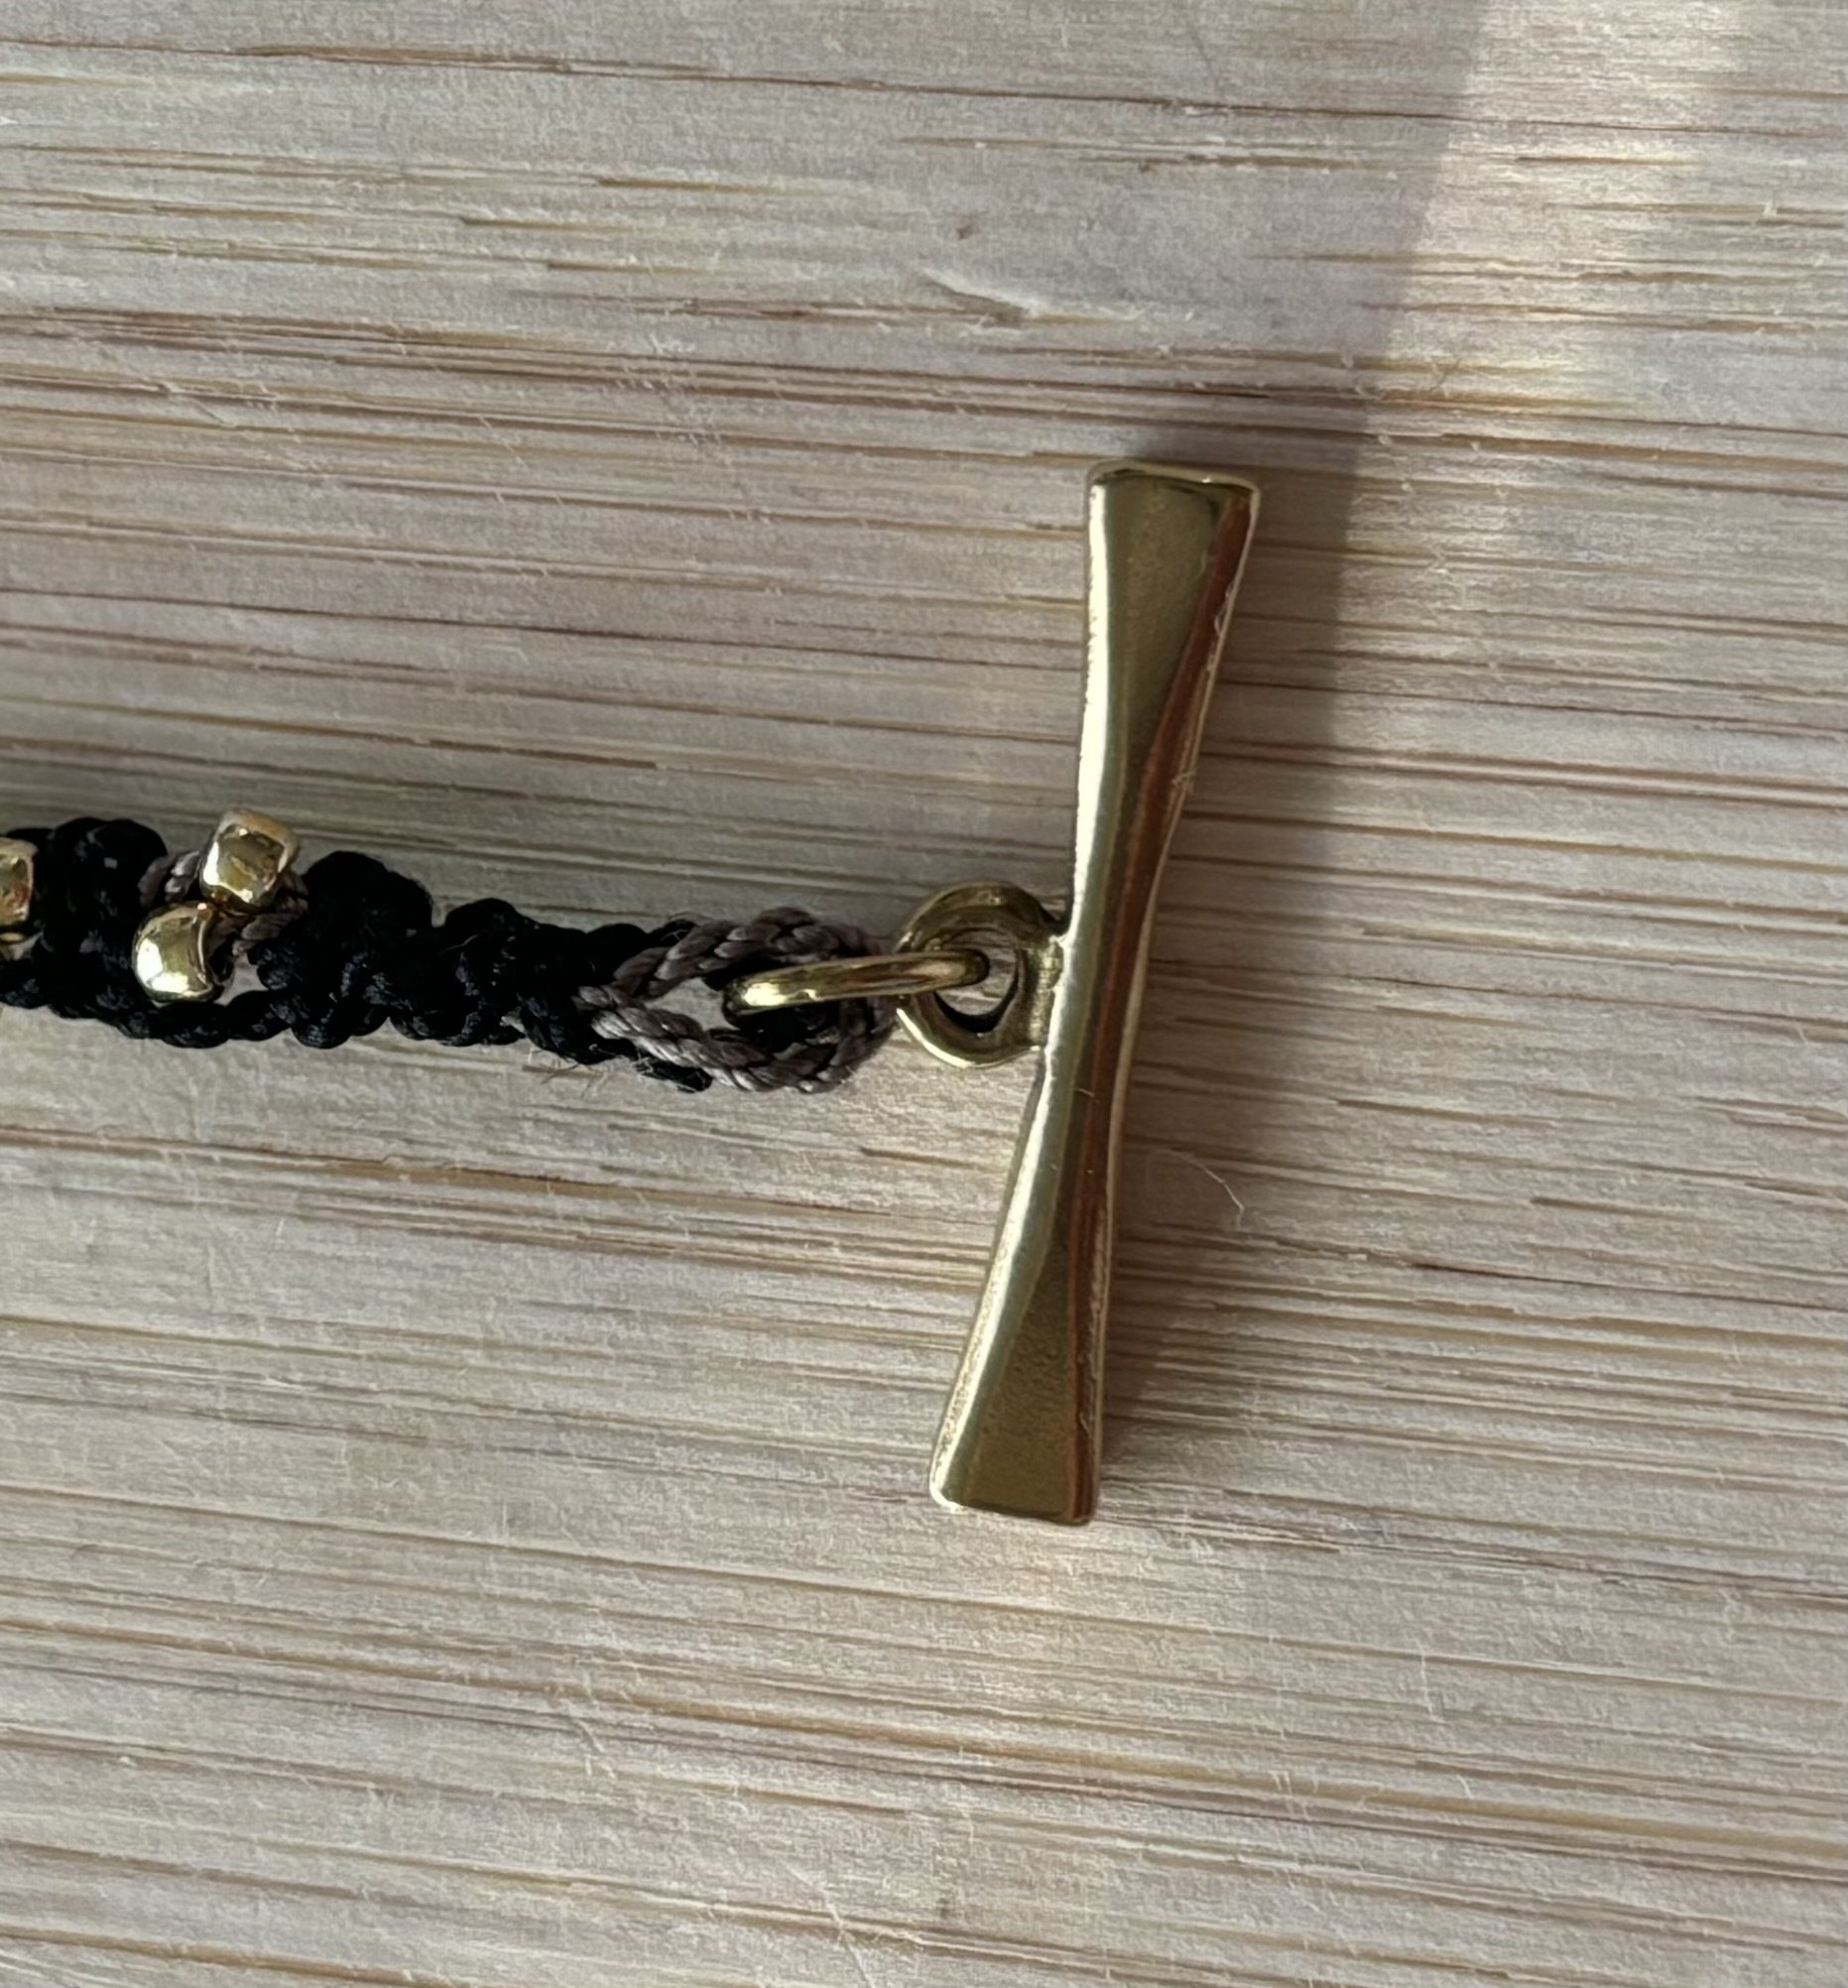
An attachment device such as a toggle clasp, lobster claw, lanyard clasp, 5-10 mm jump ring, or safety pin.
Something to anchor your watchguard loom to a steady surface. You can use a pincushion clamp (see here) or make your own pincushion clamp using duct tape and a small round of cork (see step 2)
Step 1: Preparing the Watchguard Material
Cut two lengths of your silk bead cord (or alternate cord): one should measure 1 meter, and the other 2 meters. One of these lengths will act as your frame, and the other will be the cord you weave; therefore, one (the weaving cord) must be double the length of the other (the frame cord). I used two different colours to differentiate the weaving cords from the frame cord.
Step 2: Preparing the Base
Find somewhere to make your watchguard. Your torso should be level with the surface that you are working on. Sitting in a chair at a desk or table or sitting on the floor on a cushion at a coffee table works well. You will want to have all your supplies nearby as well as any other items you may want to reach for while crafting because it is not easy to move once you start.
If you do not have a pincushion clamp, tape a small, flat piece of cork to the near edge of the surface you are working on. Make sure that this makeshift pincushion clamp does not wobble.
Step 3: Making the Loom
You need to make a narrow loom on which to weave the watchguard. The first step is setting up your “warp” (or base) cords, which will remain stationary and taut while you weave your “weft” (or working) cords. This tutorial offers two possible ways to construct the loom. The first uses a full-body method found in an article on watchguard weaving published in The Lady’s Newspaper in 1856 in which the maker attaches the end of the base cords to their waist and weaves towards themself. The second uses a makeshift frame in which you weave downwards, so you do not need to tie the ends of the watchguard to yourself. You will, however, need a pincushion clamp (or the homemade alternative) for both loom options because you will anchor your watchguard using the same clamping method.
Option 1: Making a loom out of your body and a steady surface
Find the midpoint on each length of cord and fold both cords in half at that point. Carefully push the pin through the midpoints of both folded cords, and then pin them to your pincushion or corkboard directly in front of your intended position. The pin at the top of your cords should be around a 46 centimetres (or the distance of your forearm) from where you are sitting.
Tie the ribbon around your waist like a belt.
You are creating a horizontal loom suspended between your body and the edge of the surface that you are working on.
Pull both ends of the shorter pinned cords towards your torso until they are taut. Locate the middle of the ribbon on your waist and tie the ends of the cord to the ribbon, as in this image.
As you weave towards yourself, you can adjust the length of the frame cord and its tension by moving your body or by adjusting the knotted cords tied to the ribbon.
You should now have 4 strands of cord: two short lengths of cord tied to yourself (the frame cords) and two long lengths of cord (the weaving cords) on either side of the frame cords.
Option 2: Making a loom out of a cardboard box
You can also create a small frame for your narrow loom using a cardboard box instead of tying the cords to your waist. Although this option is less historically accurate than option 1, it is a great alternative if you have limited mobility or do not want to attach the loom to your torso.
Attach your pincushion clamp or corkboard to the rim of the box. Pin your frame cord to it following the instructions above. Pull the ends of the cords taut and tape them to the opposite end of the box. Place the box upright on a surface you are level with so that you are looking into the box. It may be helpful to tape the box to your surface or add weights to the bottom (cans, books, etc.) so that the box stays upright when you pull on the cords. Proceed with the following steps but braid downwards rather than towards yourself.
Step 4: Weaving the Watchguard
For your first knot, position it so that you leave a space of 1 cm (which will form a small double loop) just below where you have pinned the cords. This loop will later enable you to attach a toggle or a clasp fixture once you have finished weaving your watchguard.
knot 1
knot 2
Take the long length of weaving cord on the right side of your frame and tuck it under the foundation cord (see pink cord in Knot 1). Take the long length of cord on the left side of your frame and lay it over the foundation cord (see blue cord in Knot 1). Put the end of the right-hand length over the left and the end of the left under the right. You are creating a pretzel-like knot rather than just a twist. Pull both lengths of cord until your knot is secured to the frame.
For the second knot, lay the new right-hand cord (see blue cord in Knot 2) over the frame and tuck the new left hand-cord (see pink cord in Knot 2) under the frame. (You are reversing the pretzel pattern of the previous knot.)
Alternating over and under creates the pattern (a series of small horizontal Vs). One cord will always be going over (the blue cord) and the other cord will always be going under (the pink cord), but they will do so from different sides depending on which knot you are tying (Knot 1 or Knot 2).
If you make a mistake, use a pin to unpick your last knot and pull the cords apart.
Continue weaving until you reach your desired watchguard length or decide to add a charm or bead.
Step 5: Adding Decorations
If you would like to add beads, there are a few ways to do so.
Small beads: Thread all the beads onto your frame cord before you pin it to the cork and start weaving. As you work, push each bead all the way up to the top of the frame cord or the base of your last knot so that the beads are secured between each knot.
Large beads: Push all four ends of cord through the beads as you weave, sliding them up to the top or the base of your last knot and continue weaving or finish off.
Charms: Attach charms to the loop at the top of the watchguard, the toggle at the bottom, or the midpoint. You can use jump rings to anchor the charms or thread them directly onto the working cord.
I used a jump ring and put my charm at the bottom of my watchguard where the pocket watch goes.
Step 6: Finishing Off
When you’ve reached your desired length, tie the ends of both the weaving cord and the frame cord to a jump ring or directly onto your watch, creating a regular double knot to secure it.
Remove the pin from the top of your woven watchguard and affix your attachment device to the double loop at the top.
This clasp or pin will allow you to attach the watchguard to yourself.
Your watchguard is now complete!
References
Cummins, Genevieve. How the Watch was Worn: A Fashion for 500 Years. United Kingdom, Antique Collectors' Club, 2010.
Davies, Alun C. The Rise and Decline of England’s Watchmaking Industry, 1550-1930. Routledge, 2022, https://doi.org/10.4324/9781003227823.
Dickens, Charles. Sketches by Boz. United Kingdom, Chapman & Hall, 1850.
Tomalin, Marcus. Telling the Time in British Literature, 1675-1830 : Hours of Folly? 1st ed., Routledge, 2020


